It’s been a little bit since I’ve blogged. Mostly, because the super-crud attacked our house and rendered all of us near lifeless for the last few weeks. The sickness did not keep me from crocheting though! (NEVER!)
I found a beautiful FREE afghan pattern on Lion Brand’s website called “Tree of Life.” It was originally a knitting pattern which they adapted to a crochet pattern. I am super-jealous of anyone who can knit and would love to learn it for the beauty of the stitches – BUT – this afghan is actually PRETTIER crocheted than it is knitted. The tree motif just pops up so much more on the crochet version! Since I could never commit to the time it would take to make an afghan, (being the lazy slob I am) I decided to adapt the pattern to a pillow and use ONLY the tree motif from the afghan pattern. I could not be more proud with how this pillow (which will actually be an upcoming birthday gift for my sister) turned out!

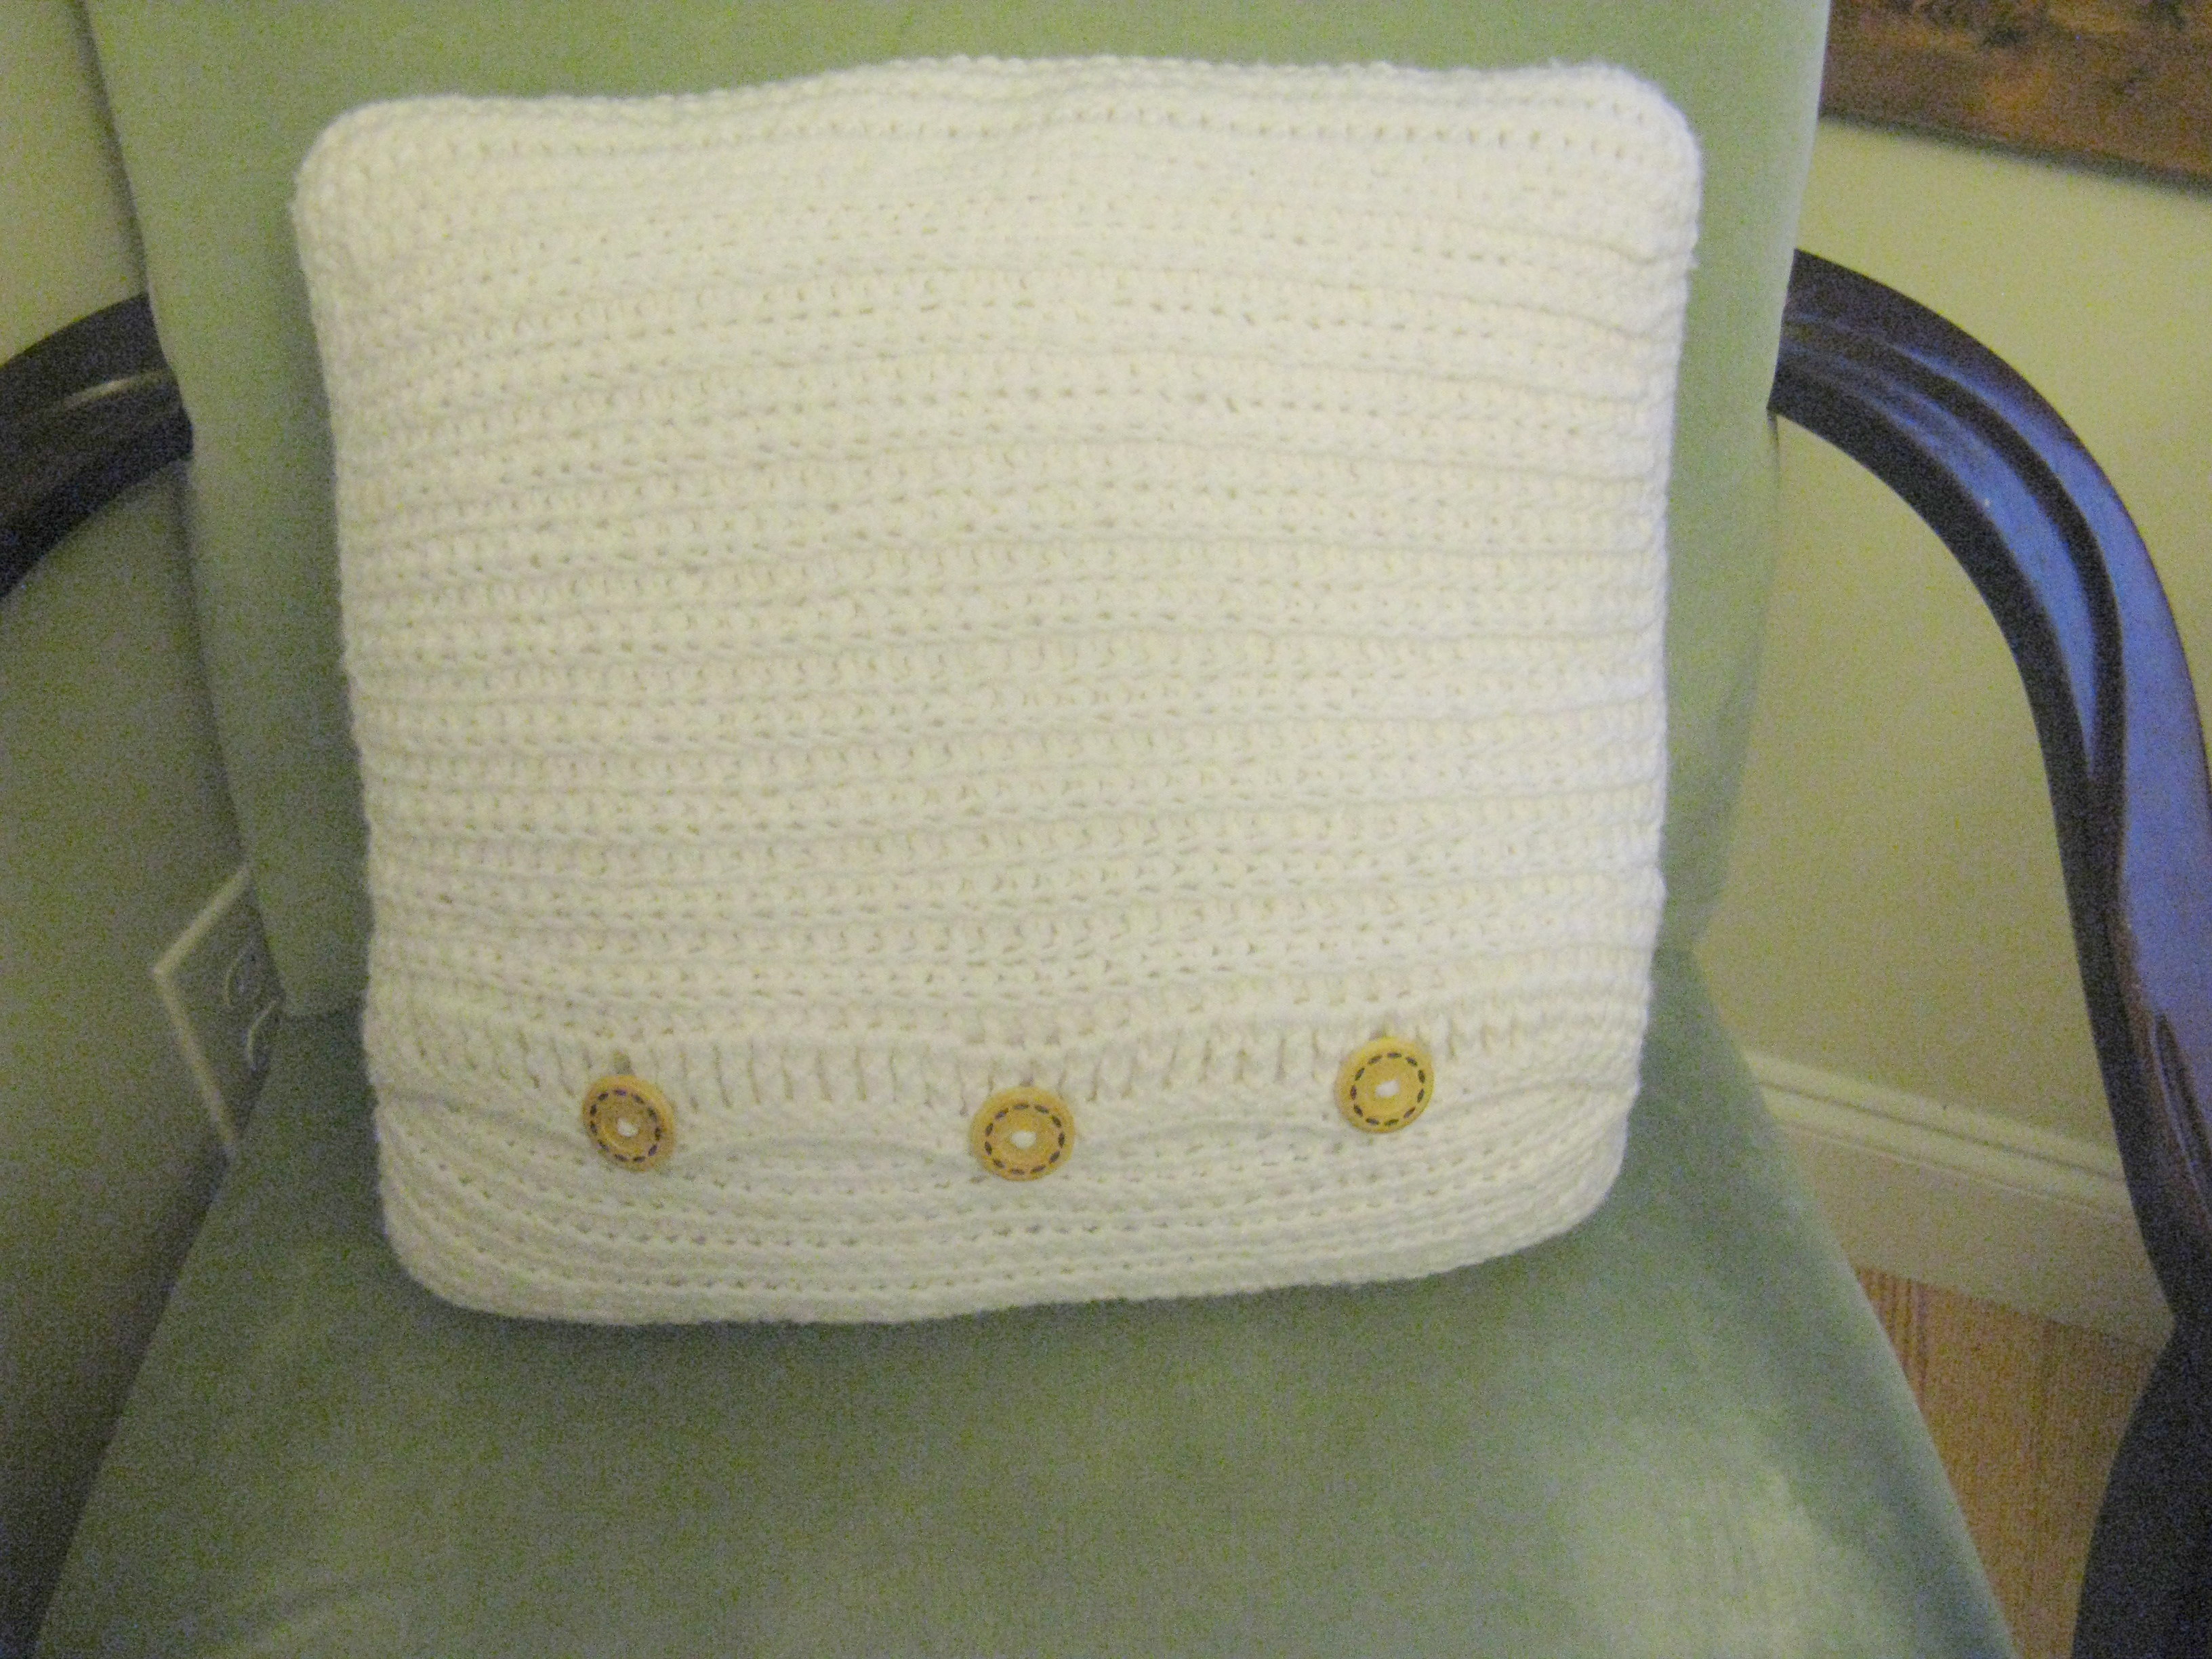
I used a 16″ square pillow form. I decided to make mine into a slip-cover (since I chose white for the color and because my sister has young children at home – I figured she better be able to wash it) and added little wooden buttons (which I got at Wally world for around $1) to close the back:
Here’s the (and I use the word loosely) tutorial to make your own tree of life pillow.
Also, here is the link to the afghan pattern on Lion brand’s website: http://cache.lionbrand.com/printablePatterns/90360AD.pdf
Materials needed:
• Size F Crochet Hook (3.75mm)
• Yarn Needle
• *Approx. 364 yards of acrylic worsted weight yarn (I used one entire skein of Red Heart Super Saver in White. Although, I do think this pillow would be gorgeous in green, or even a variegated)
• 16” X 16” Pillow Form
• 3 (or two or four) buttons of your choosing
Chain 49.
Row 1: SC in each chain across, not including the first (48 SC). Chain 1, turn.
Row 2: SC in each stitch across (48 SC)
Rows 3 – 58: Complete rows 1-55 of the “Patterns: Trees” section of the Lion Brand Tree of Life crochet afghan pattern.
Row 59: Ch 1, Turn. SC in each stitch across (48 SC) Ch 1. Turn.
Row 60: SC in each stitch across.
Once this is finished, your pillow front will be approx 14”. (Mine was, and and mine was also slightly taller than it was wide.)
After this was finished, I just continued to sc around the entire pillow front sort of willy-nilly until it reached close to 16”. In some places, (on the sides) I hdc and dc to make the pillow get a little wider since the tree motif itself was not perfectly square. Then, for the back panel, I just chained until my chain was as wide as my pillow front and SC’d in rows – making two panels. (making one long enough to over lap the other). I chose to sc in the back loop only to give the back of my pillow a ribbed effect. This is not necessary though since it is the back and doesn’t really need to be “pretty.” **Note: When you chain for your first flap, count your chains so you will know how many to do for the second panel. Also, if your back does not come out the same exact size as your front, NO BIG DEAL as long as it is close! It will stretch when you sew them together! On the panel that I wanted to have my button holes, I treble crocheted so that there would be room for the buttons to slip in, then followed with one last round of single crochet.
To close the pillow, just thread a length of yarn in your needle and lay the three pieces as you want them to be – pin if necessary – and whip stitch around the entire pillow. I hope this all made some sense as I have never attempted to create a “tutorial” from any of my creations before. Comment or email with any questions if something is not clear and I will do my best to clarify.
Last, sew on your buttons! You are done!
Have an awesome day!
Erin